Use Case
-
For details about the development board, compilation, burning, and image running, see Hi3518 Development Board. A compilation result file of sample code is stored in out/ipcamera_hi3518ev300/dev_tools/bin/camera_sample. You can copy the file to a TF card, or modify the compilation script of camera_sample to copy the result to rootfs.img.
Modify output_dir in applications/sample/camera/media/BUILD.gn.
- Before: output_dir = "$root_out_dir/dev_tools"
- After: output_dir = "$root_out_dir/"
Recompile the source code repository and burn the code into the development board. Then you can find the camera_sample file in the bin directory of the board.
-
The sample code for camera development is stored in applications/sample/camera/media/camera_sample.cpp.
 NOTICE:
You should insert a TF card (maximum capacity: 128 GB) for photographing and video recording functions. After the system is started, the TF card is automatically mounted to the /sdcard directory. If the TF card is inserted after the system is started, you have to manually mount the TF card. To view the photos and videos in the TF card, copy the content to a computer. The preview function does not require a TF card.
-
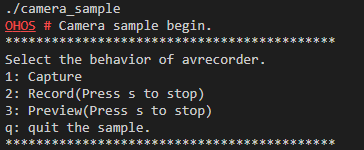
Run the cd command to go to the end path of the executable program and start camera_sample by running the command in the following figure.
Figure 1 Starting camera_sample

The control commands are displayed as shown in the preceding figure. Press S to stop the current operation (including video recording and preview), and press Q to exit the program.
-
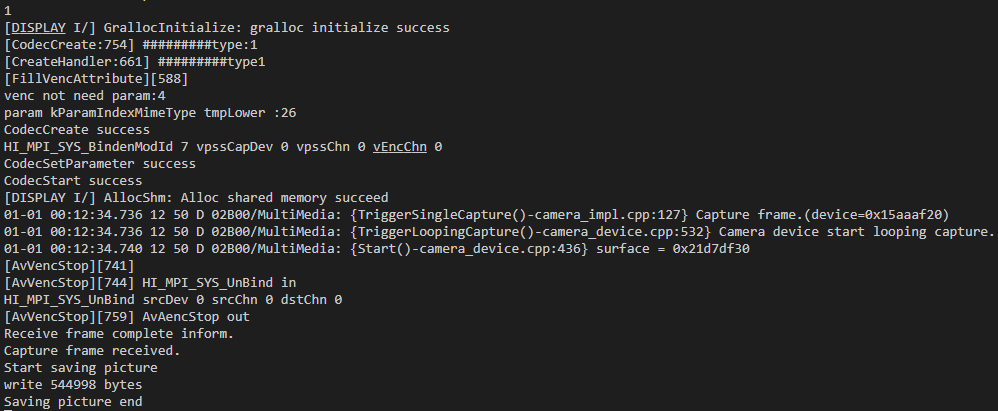
Press 1 to take a photo in JPG format. The photo is saved in the /sdcard directory and named Capture*.
Figure 2 Serial port logs displayed after the photographing command is executed

To view the saved file, exit the program and enter the file system. To start the program again, return to the previous step.
-
Press 2 to start recording. The video file is in MP4 format and saved in the /sdcard directory with the name Record*. Press S to stop recording.
Figure 4 Serial port logs displayed after the recording command is executed

-
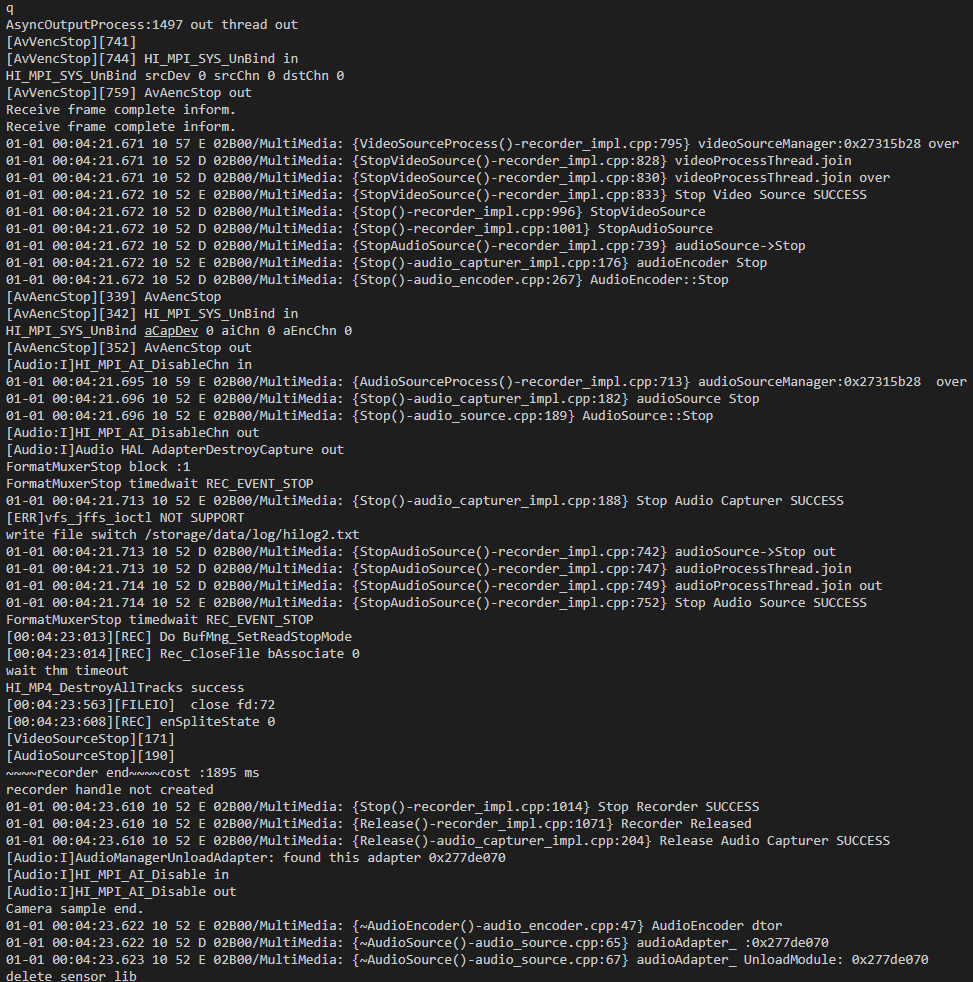
Press Q to exit.
Figure 5 Serial port logs displayed after the exit command is executed

