Creating a Source Code Project
After setting up the Windows+Ubuntu hybrid development environment and obtaining source code, perform the following steps to create a source code project in Windows:
-
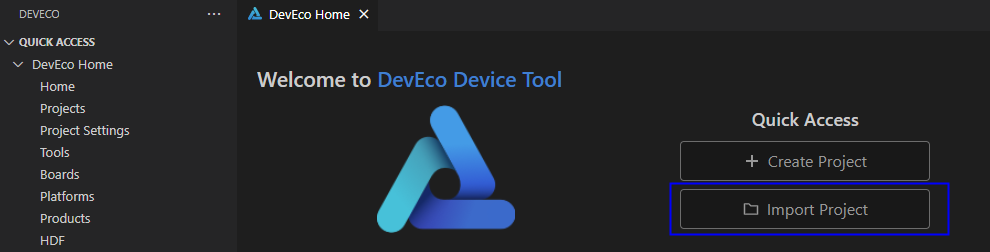
Open DevEco Device Tool, go to the home page, and click Import Project to open your project or source code.
-
Select the source code directory to be imported and click Import.
 NOTE
NOTE
Make sure the selected directory does not contain Chinese characters or spaces. Otherwise, the building may fail.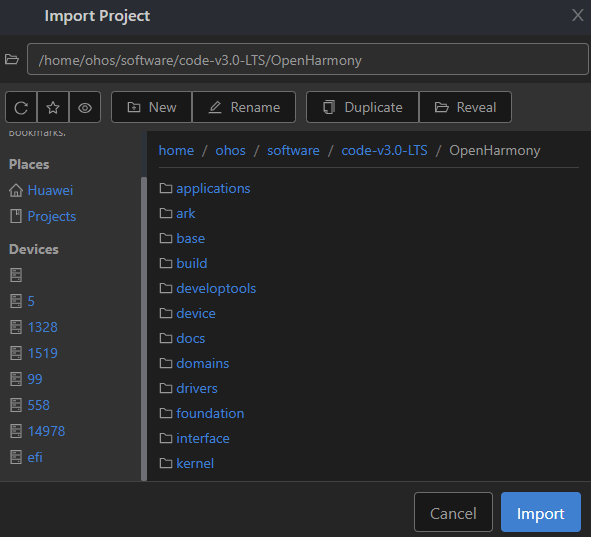
-
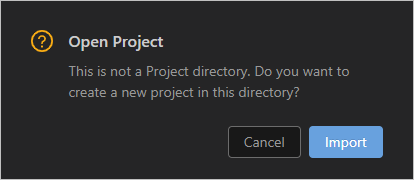
If you select to open the OpenHarmony source code, a message will be displayed indicating that the project is not a DevEco Device Tool project. Click Import to continue.
-
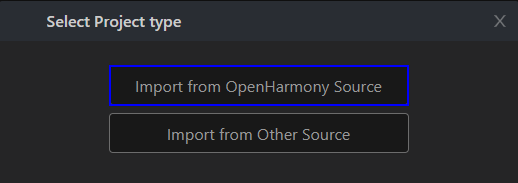
On the Select Project type page, select Import from OpenHarmony Source.
-
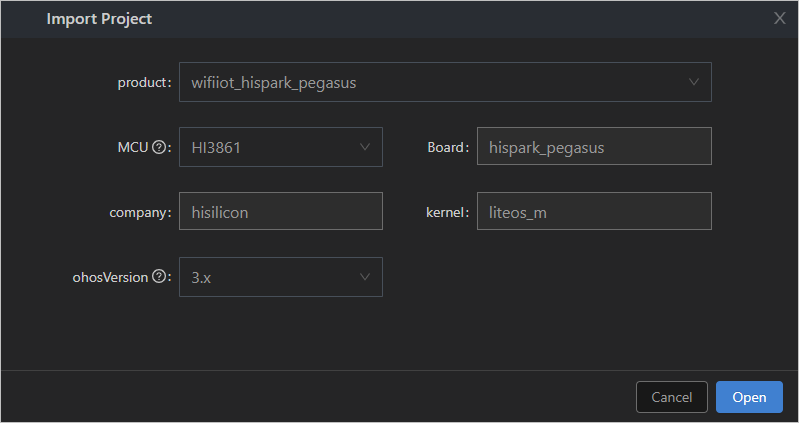
On the Import Project page, select a product, and the MCU, board, company, and kernel fields will be automatically populated. Then, select the OpenHarmony source code version for ohosVersion. The following figure uses wifiiot_hispark_pegasus as an example.
NOTE-
Set Product to wifiiot_hispark_pegasus for the Hi3861 development board.
-
Set Product to ipcamera_hispark_taurus for the Hi3516D V300 development board.
-
-
Click Open to open the project or source code.