<list> Development
The <list> component provides a list container that presents a series of list items arranged in a column with the same width. Lists can be used for presenting the same type of data in a multiple and coherent row style. For details, see list.
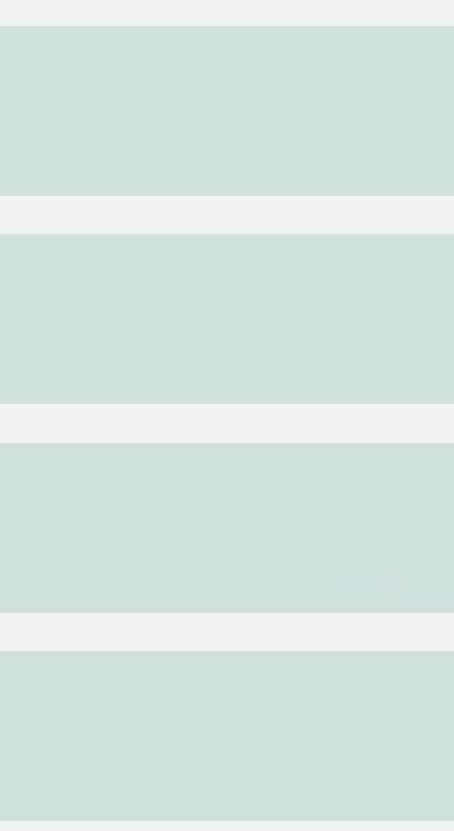
Creating a <list> Component
Create a <list> component in the .hml file under pages/index.
<!-- xxx.hml -->
<div class="container">
 <list>
   <list-item class="listItem"></list-item>
   <list-item class="listItem"></list-item>
   <list-item class="listItem"></list-item>
   <list-item class="listItem"></list-item>
 </list>
</div>
/* xxx.css */
.container {
  width:100%;
  height:100%;
  flex-direction: column;
  align-items: center;
  background-color: #F1F3F5;
}
.listItem{
  height: 20%;
  background-color:#d2e0e0;
  margin-top: 20px;
}

NOTE
<list-item-group> is a child component of the <list> component and is used to group items in a list. It can have a <list-item> nested inside, but not <list>.
<list-item> is a child component of the <list> component and is used to display items in a list.
Adding a Scrollbar
To display a scrollbar on the right side of the screen, set scrollbar to on. The side scrollbar can be used to scroll a long list or the screen up or down.
<!-- xxx.hml -->
<div class="container">
  <list class="listCss" scrollbar="on" >
    <list-item class="listItem"></list-item>
    <list-item class="listItem"></list-item>
    <list-item class="listItem"></list-item>
    <list-item class="listItem"></list-item>
    <list-item class="listItem"></list-item>
    <list-item class="listItem"></list-item>
 </list>
</div>
/* xxx.css */
.container {
  flex-direction: column;
  background-color: #F1F3F5;
}
.listItem{
  height: 20%;
  background-color:#d2e0e0;
  margin-top: 20px;
}
.listCss{
  height: 100%;
  scrollbar-color: #8e8b8b;
  scrollbar-width: 50px;
}

Adding a Side Index Bar
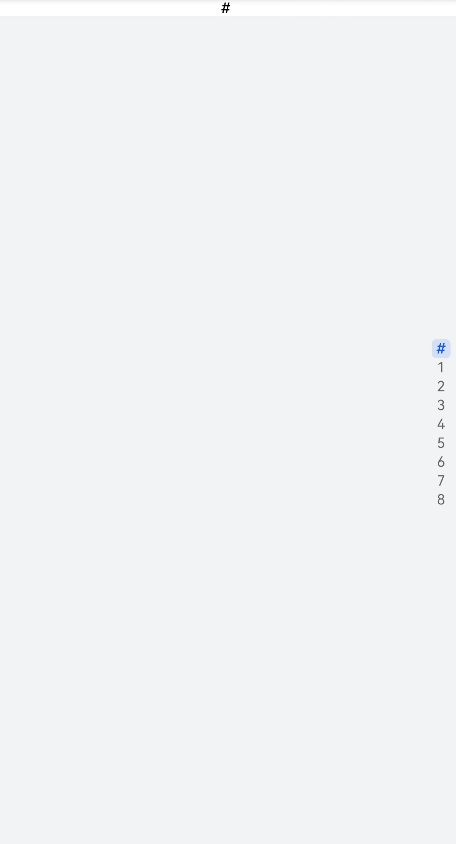
Set a custom indexer component to add an index bar at the right boundary of a list. By default, an alphabetical indexer is used.
<!-- xxx.hml -->
<div class="container">
  <list class="listCss"  indexer="{{['#','1','2','3','4','5','6','7','8']}}" >
    <list-item class="listItem"  section="#" ></list-item>
  </list>
</div>
/* xxx.css */
.container{
  flex-direction: column;
  background-color: #F1F3F5;
 }
.listCss{
  height: 100%;
  flex-direction: column;
  columns: 1
}

NOTE
This indexer attribute is valid only when flex-direction is set to column and columns is set to 1.
You must include "#" when using a customized indexer.
Collapsing or Expanding a List
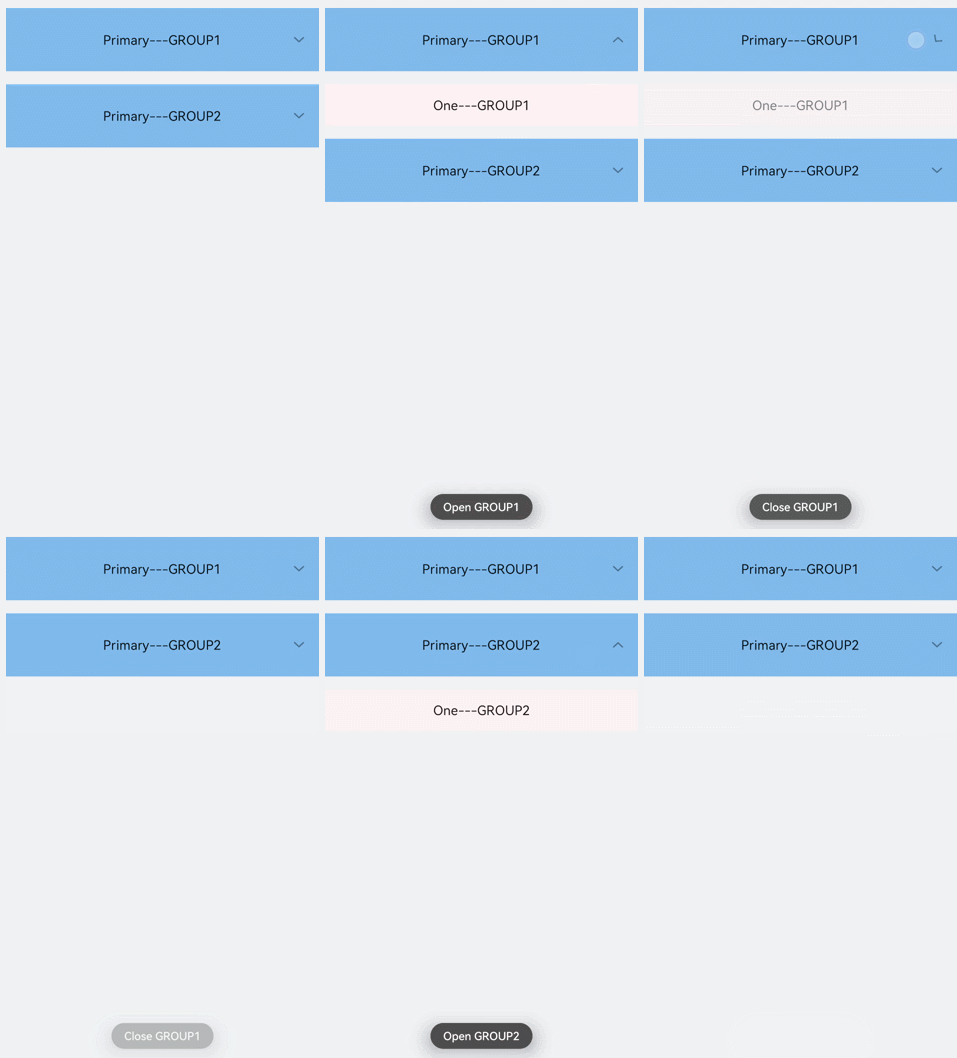
To allow a <list> component to collapse and expand, add groupcollapse and groupexpand events.
<!-- xxx.hml -->
<div class="doc-page">
  <list style="width: 100%;" id="mylist">
    <list-item-group for="listgroup in list" id="{{listgroup.value}}" ongroupcollapse="collapse" ongroupexpand="expand">
      <list-item type="item" style="background-color:#FFF0F5;height:95px;">
        <div class="item-group-child">
          <text>One---{{listgroup.value}}</text>
        </div>
      </list-item>
      <list-item type="item" style="background-color: #87CEFA;height:145px;" primary="true">
        <div class="item-group-child">
          <text>Primary---{{listgroup.value}}</text>
        </div>
      </list-item>
    </list-item-group>
  </list>
</div>
/* xxx.css */
.doc-page {
  flex-direction: column;
  background-color: #F1F3F5;
}
list-item{
margin-top:30px;
}
.top-list-item {
  width:100%;
  background-color:#D4F2E7;
}
.item-group-child {
  justify-content: center;
  align-items: center;
  width:100%;
}
// xxx.js
import promptAction from '@ohos.promptAction';
export default {
  data: {
    direction: 'column',
    list: []
  },
  onInit() {
    this.list = []
    this.listAdd = []
    for (var i = 1; i <= 2; i++) {
      var dataItem = {
        value: 'GROUP' + i,
      };
        this.list.push(dataItem);
    }
  },
  collapse(e) {
    promptAction.showToast({
      message: 'Close ' + e.groupid
    })
  },
  expand(e) {
    promptAction.showToast({
    message: 'Open ' + e.groupid
    })
  }
}

NOTE
The groupcollapse and groupexpand events can be used only by the list-item-group component.
Example Scenario
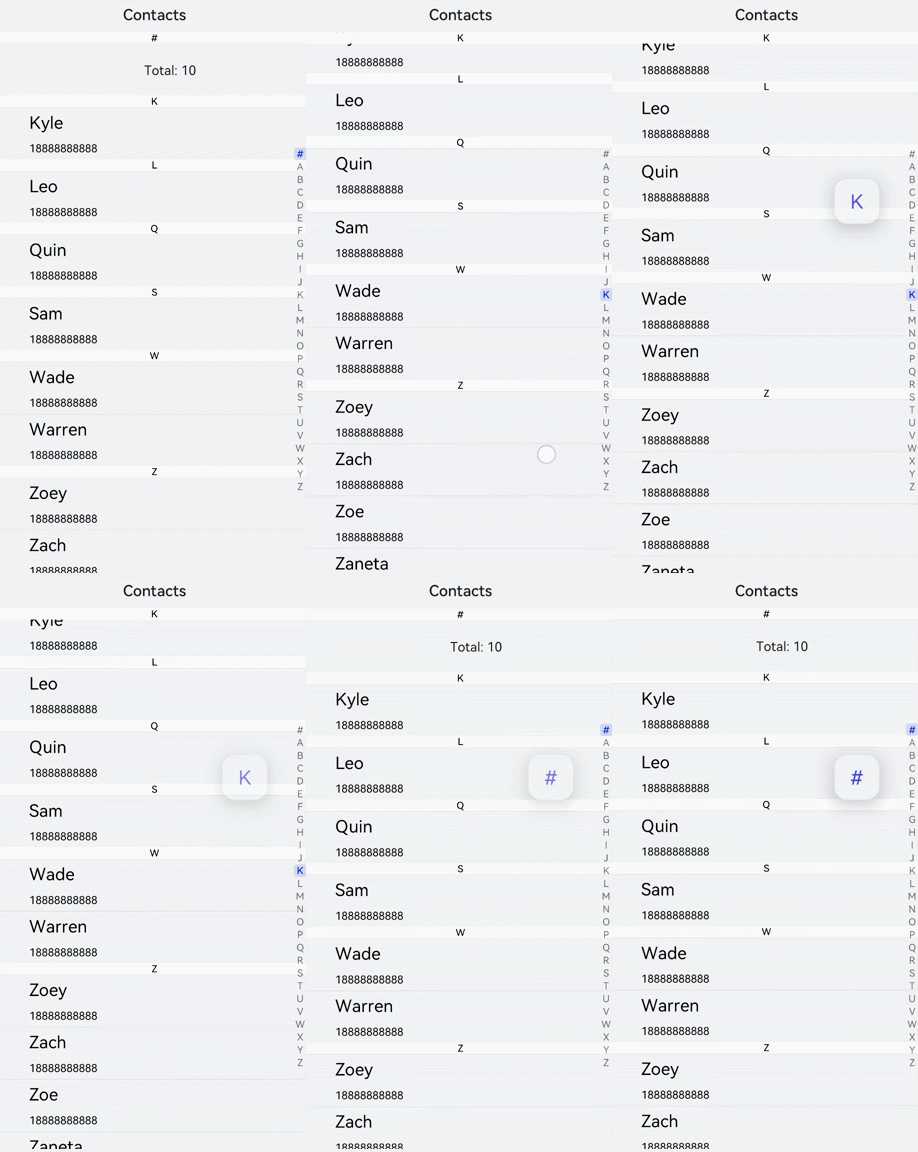
Search for contacts by using an alphabetical indexer.
<!-- xxx.hml -->
<div class="doc-page">
  <text style="font-size: 35px; font-weight: 500; text-align: center; margin-top: 20px; margin-bottom: 20px;">
      <span>Contacts</span>
  </text>
  <list class="list" indexer="true">
    <list-item class="item" for="{{namelist}}" type="{{$item.section}}" section="{{$item.section}}">
      <div class="container">
        <div class="in-container">
          <text class="name">{{$item.name}}</text>
          <text class="number">18888888888</text>
        </div>
      </div>
    </list-item>
    <list-item type="end" class="item">
      <div style="align-items:center;justify-content:center;width:750px;">
        <text style="text-align: center;">Total: 10</text>
      </div>
    </list-item>
  </list>
</div>
/* xxx.css */
.doc-page {
  width: 100%;
  height: 100%;
  flex-direction: column;
  background-color: #F1F3F5;
}
.list {
  width: 100%;
  height: 90%;
  flex-grow: 1;
}
.item {
  height: 120px;
  padding-left: 10%;
  border-top: 1px solid #dcdcdc;
}
.name {
  color: #000000;
  font-size: 39px;
}
.number {
  color: black;
  font-size: 25px;
}
.container {
  flex-direction: row;
  align-items: center;
}
.in-container {
  flex-direction: column;
  justify-content: space-around;
}
// xxx.js
export default {
   data: {
     namelist:[{
       name: 'Zoey',
       section:'Z'
     },{
       name: 'Quin',
       section:'Q'
     },{
       name:'Sam',
       section:'S'
     },{
       name:'Leo',
       section:'L'
     },{
       name:'Zach',
       section:'Z'
     },{
       name:'Wade',
       section:'W'
     },{
       name:'Zoe',
       section:'Z'
     },{
        name:'Warren',
        section:'W'
     },{
        name:'Kyle',
        section:'K'
     },{
       name:'Zaneta',
       section:'Z'
     }]
   },
   onInit() {
   }
 }
