如何使用弹簧动画曲线
场景说明
在动画开发场景中,经常用到弹性效果,尤其在拖拽某个对象时经常伴随弹性动效。OpenHarmony提供了三种弹簧动画曲线用来实现弹性效果,本例将为大家介绍这三种曲线的用法。
效果呈现
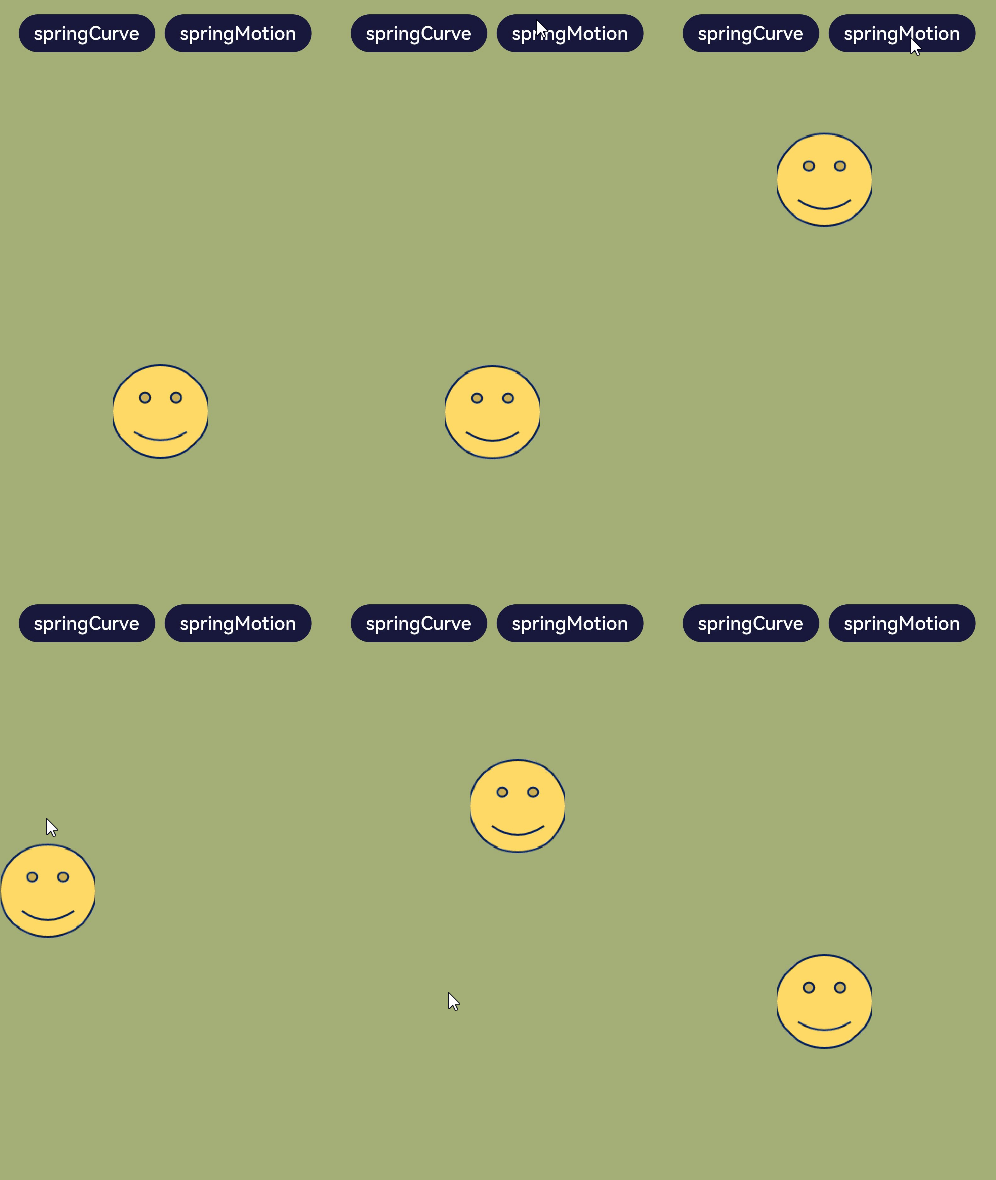
本例最终效果如下:

运行环境
本例基于以下环境开发,开发者也可以基于其他适配的版本进行开发:
- IDE: DevEco Studio 3.1 Beta2
- SDK: Ohos_sdk_public 3.2.11.9(API Version 9 Release)
实现思路
本例主要用到以下三种弹簧动画曲线:
- curves.springCurve:通过设置弹簧的初始速度、质量、刚度和阻尼来控制弹簧动画的效果。对应本例中springCurve按钮触发的动画。
- curves.springMotion:通过设置弹簧震动时间和阻尼来控制弹簧动画的效果。对应本例中springMotion按钮触发的动画。
- curves.responsiveSpringMotion:构造弹性跟手动画曲线对象,是springMotion的一种特例,仅默认参数不同,可与springMotion混合使用。用来实现拖拽动画。
开发步骤
-
搭建UI框架。 样例中有两个按钮,一个图片。内容整体纵向分布,两个按钮横向分布。纵向布局可以采用Column组件,横向布局可以采用Row组件。代码如下:
@Entry @Component struct ImageComponent { build() { Column() { Row() { Button('springCurve') .margin({right:10}) .fontSize(20) .backgroundColor('#18183C') Button('springMotion') .fontSize(20) .backgroundColor('#18183C') } .margin({top:30}) Image($r("app.media.contact2")) .width(100) .height(100) }.width("100%").height("100%").backgroundColor('#A4AE77') } } -
为springCurve按钮添加curves.springCurve的曲线动画。
...
// 定义状态变量translateY,用来控制笑脸图像的位移
@State translateY: number = 0
	...
    Button('springCurve')
      .margin({right:10})
      .fontSize(20)
      .backgroundColor('#18183C')
      // 绑定点击事件
      .onClick(() => {
        // 在点击事件中添加显示动画
        animateTo({
          duration: 2000,
          // 设定curves.springCurve为动画曲线
          curve: curves.springCurve(100, 10, 80, 10)
        },
        () => {
          // 改变translateY的值,使笑脸图像发生位移
          this.translateY = -20
        })
        this.translateY = 0
      })
	...
    Image($r("app.media.contact2"))
      .width(100)
      .height(100)
      // 为笑脸图像添加位移属性,以translateY为参数
      .translate({ y: this.translateY })
	...
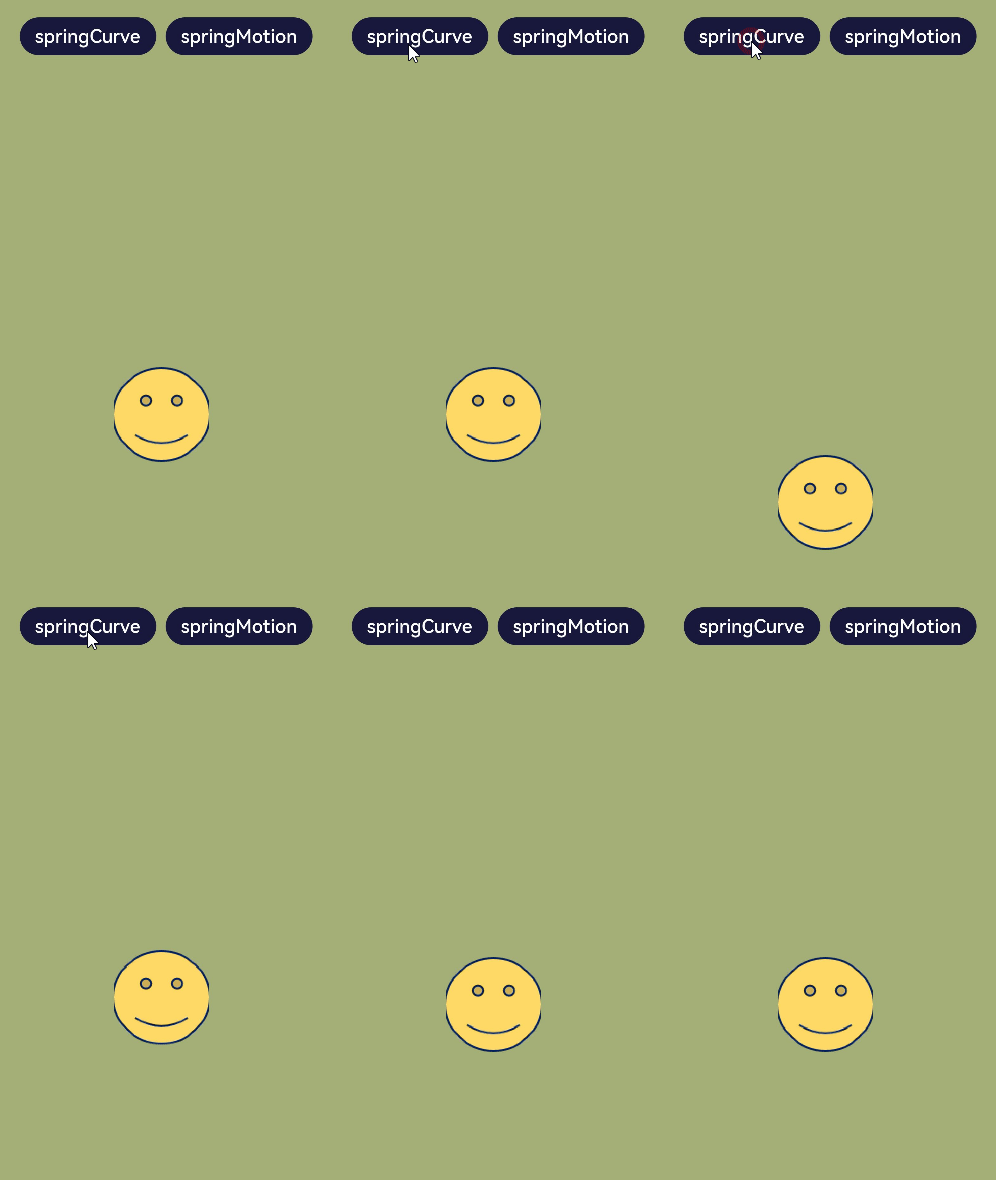
效果如下:

-
为springMotion按钮添加curves.springMotion曲线动画。 这里通过position属性控制springMotion按钮的移动,当然开发者也可以继续选择使用translate属性。
...
  // 定义状态变量translateY,用来控制笑脸图像的位置变化
  @State imgPos: {
    x: number,
    y: number
  } = { x: 125, y: 400 }
        ...
        Button('springMotion')
          .fontSize(20)
          .backgroundColor('#18183C')
          // 绑定点击事件
          .onClick(() => {
          // 在点击事件中添加显示动画
          animateTo({
            duration: 15,
            //设定curves.springMotion为动画曲线
            curve: curves.springMotion(0.5, 0.5),
            onFinish: () => {
              animateTo({ duration: 500,
                curve: curves.springMotion(0.5, 0.5), }, () => {
                // 动画结束时笑脸图像位置还原
                this.imgPos = { x: 125, y: 400 }
              })
            }
          }, () => {
            // 改变笑脸图像位置,y轴位置由400,变为150
            this.imgPos = { x: 125, y: 150 }
          })
        })
      ...
      Image($r("app.media.contact2"))
        .width(100)
        .height(100)
        .translate({ y: this.translateY })
        // 为笑脸图像添加位置属性,以imgPos为参数
        .position(this.imgPos)
     ...
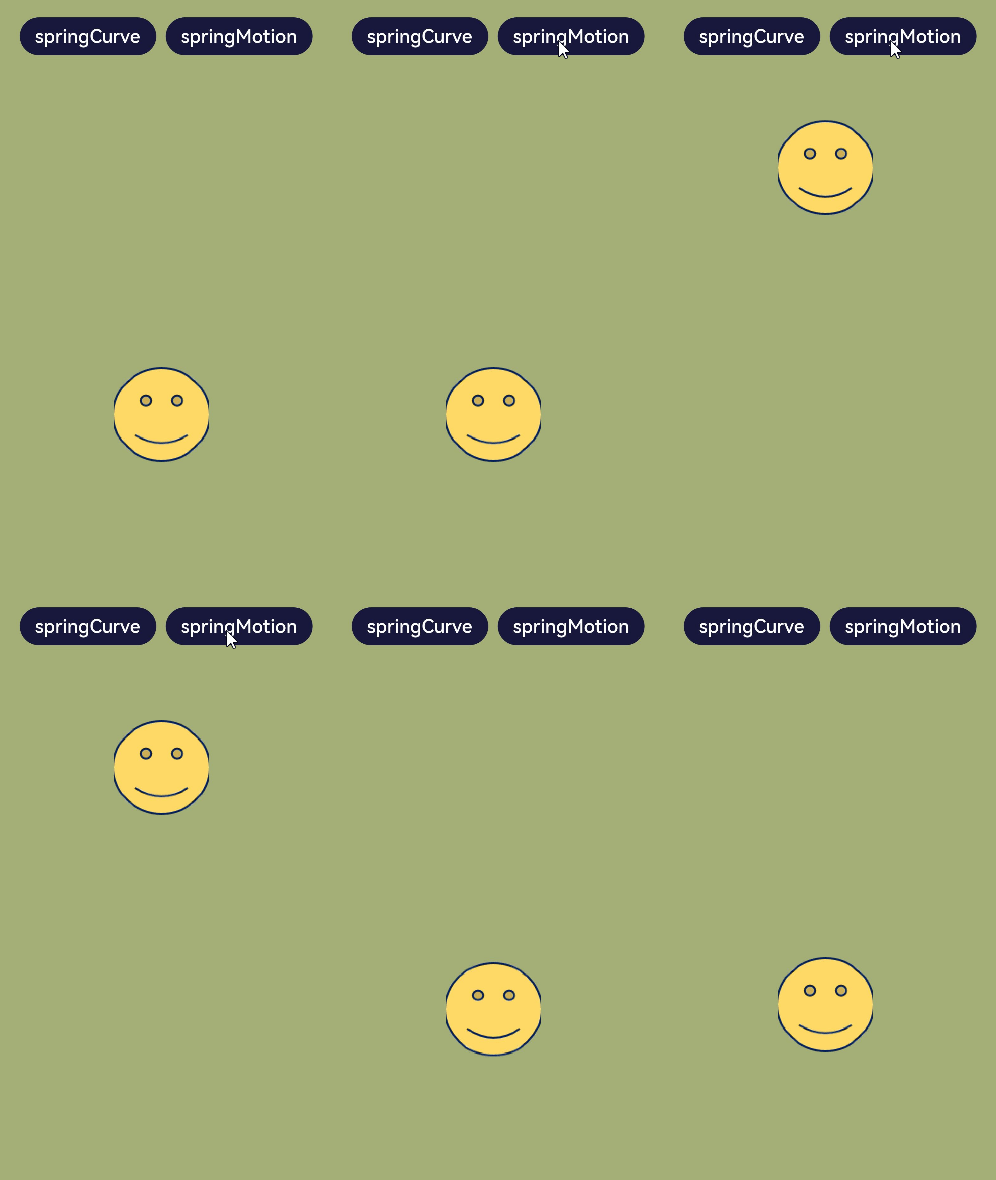
效果如下:

-
使用curves.responsiveSpringMotion为笑脸图像添加拖拽动画。
...
      Image($r("app.media.contact2"))
        .width(100)
        .height(100)
        .translate({ y: this.translateY })
        .position(this.imgPos)
        // 绑定触摸事件
        .onTouch((event: TouchEvent) => {
          // 当触摸放开时,笑脸图像位置还原
          if (event.type == TouchType.Up) {
            animateTo({
              duration: 50,
              delay: 0,
              curve: curves.springMotion(),
              onFinish: () => {
              }
            }, () => {
              this.imgPos = { x: 125, y: 400 }
            })
          } else {
            // 触摸过程中触发跟手动画
            animateTo({
              duration: 50,
              delay: 0,
              //设定跟手动画曲线
              curve: curves.responsiveSpringMotion(),
              onFinish: () => {
              }
            }, () => {
              // 根据触点位置改变笑脸图像位置,从而实现跟手动画
              this.imgPos = {
                x: event.touches[0].screenX - 100 / 2,
                y: event.touches[0].screenY - 100 / 2
              }
            })
          }
        })
...
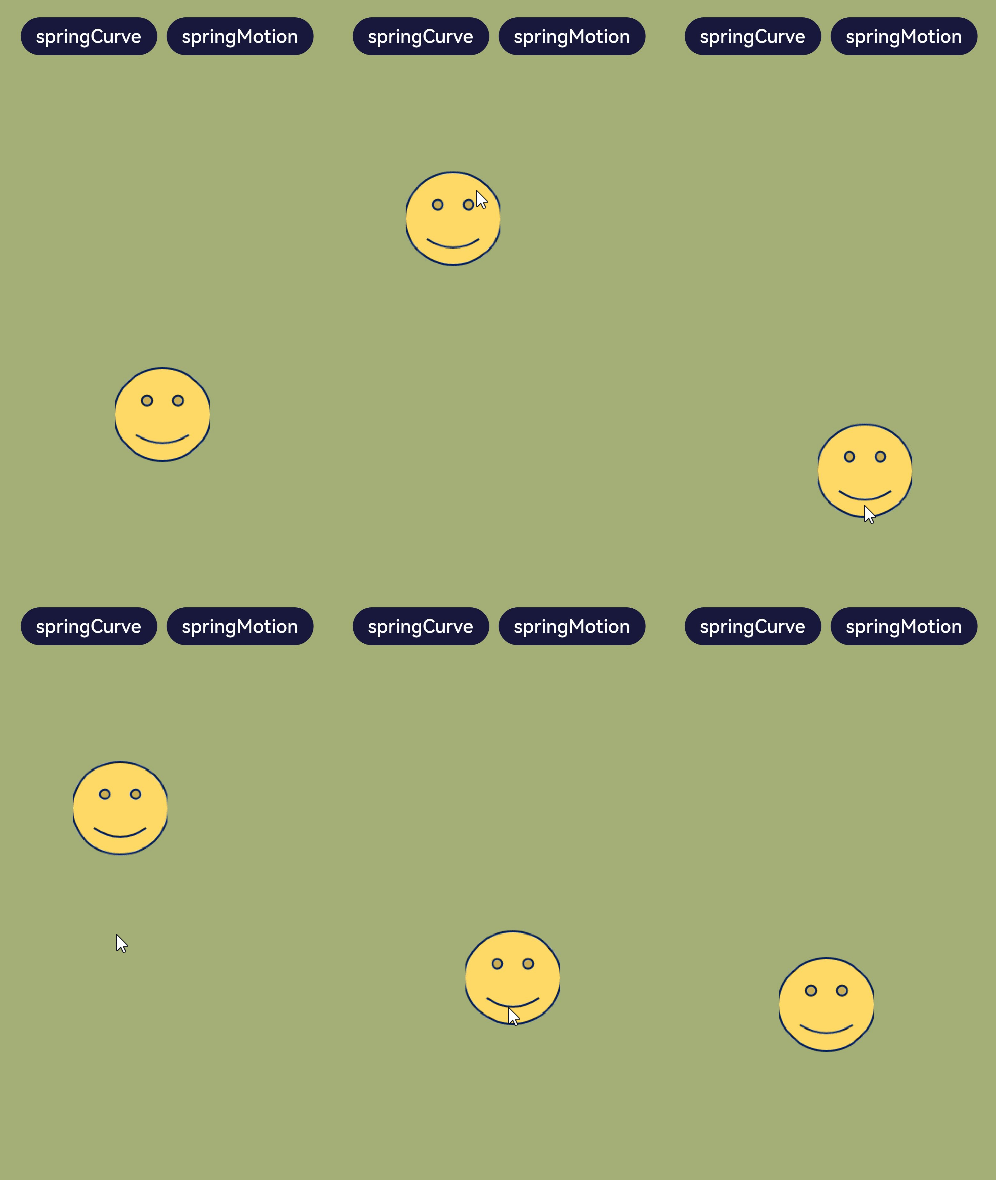
效果如下:

完整代码
本例完整代码如下:
import curves from '@ohos.curves';

@Entry
@Component
struct ImageComponent {
  // 定义状态变量translateY,用来控制笑脸图像的位移
  @State translateY: number = 0
  // 定义状态变量translateY,用来控制笑脸图像的位置变化
  @State imgPos: {
    x: number,
    y: number
  } = { x: 125, y: 400 }

  build() {
    Column() {
      Row() {
        Button('springCurve')
          .margin({right:10})
          .fontSize(20)
          .backgroundColor('#18183C')
          // 绑定点击事件
          .onClick(() => {
            // 在点击事件中添加显示动画
            animateTo({
              duration: 2000,
              // 设定curves.springCurve为动画曲线
              curve: curves.springCurve(100, 10, 80, 10)
            },
            () => {
              // 改变translateY的值,使笑脸图像发生位移
              this.translateY = -20
            })
            this.translateY = 0
          })
        Button('springMotion')
          .fontSize(20)
          .backgroundColor('#18183C')
          // 绑定点击事件
          .onClick(() => {
            // 在点击事件中添加显示动画
            animateTo({
              duration: 15,
              //设定curves.springMotion为动画曲线
              curve: curves.springMotion(0.5, 0.5),
              onFinish: () => {
                animateTo({ duration: 500,
                  curve: curves.springMotion(0.5, 0.5), }, () => {
                  // 动画结束时笑脸图像位置还原
                  this.imgPos = { x: 125, y: 400 }
                })
              }
            }, () => {
              // 改变笑脸图像位置,y轴位置由400,变为150
              this.imgPos = { x: 125, y: 150 }
            })
        })
      }
      .margin({top:30})

      Image($r("app.media.contact2"))
        .width(100)
        .height(100)
        // 为笑脸图像添加位移属性,以translateY为参数
        .translate({ y: this.translateY })
        // 为笑脸图像添加位置属性,以imgPos为参数
        .position(this.imgPos)
        // 绑定触摸事件
        .onTouch((event: TouchEvent) => {
          // 当触摸放开时,笑脸图像位置还原
          if (event.type == TouchType.Up) {
            animateTo({
              duration: 50,
              delay: 0,
              curve: curves.springMotion(),
              onFinish: () => {
              }
            }, () => {
              this.imgPos = { x: 125, y: 400 }
            })
          } else {
            // 触摸过程中触发跟手动画,同样通过animateTo实现动画效果
            animateTo({
              duration: 50,
              delay: 0,
              //设定跟手动画曲线
              curve: curves.responsiveSpringMotion(),
              onFinish: () => {
              }
            }, () => {
              // 根据触点位置改变笑脸图像位置,从而实现跟手动画
              this.imgPos = {
                x: event.touches[0].screenX - 100 / 2,
                y: event.touches[0].screenY - 100 / 2
              }
            })
          }
        })
    }.width("100%").height("100%").backgroundColor('#A4AE77')
  }
}