<stepper> Development
When multiple steps are required to complete a task, you can use the <stepper> component to navigate your users through the whole process. For details, see stepper.
Creating a <stepper> Component
Create a <stepper> component in the .hml file under pages/index.
<!-- xxx.hml -->
<div class="container">
 <stepper>
   <stepper-item>
     <text>Step 1</text>
   </stepper-item>
   <stepper-item>
     <text>Step 2</text>
   </stepper-item>
 </stepper>
</div>
/* xxx.css */
.container {
  width:100%;
  height:100%;
  flex-direction: column;
  justify-content: center;
  align-items: center;
  background-color: #F1F3F5;
}
text{
  width: 100%;
  height: 100%;
  text-align: center;
}

Setting the Index
Set index to the index value of the step that you want to display by default.
<!-- xxx.hml -->
<div class="container">
 <stepper index="2">
   <stepper-item>
     <text>stepper-item1</text>
   </stepper-item>
   <stepper-item>
     <text>stepper-item2</text>
   </stepper-item>
   <stepper-item>
     <text>stepper-item3</text>
   </stepper-item>
  </stepper>
</div>
/* xxx.css */
.container {
  width:100%;
  height:100%;
  flex-direction: column;
  background-color: #F1F3F5;
}
text{
  width: 100%;
  height: 100%;
  text-align: center;
}
Set the label attribute to customize the label for the <stepper-item>.
<!-- xxx.hml -->
<div class="container">
 <stepper index="1">
   <stepper-item label="{{label_1}}">
     <text>stepper-item1</text>
   </stepper-item>
   <stepper-item label="{{label_2}}">
     <text>stepper-item2</text>
   </stepper-item>
   <stepper-item label="{{label_3}}">
     <text>stepper-item3</text>
   </stepper-item>
   <stepper-item>
     <text>stepper-item4</text>
   </stepper-item>
 </stepper>
</div>
/* xxx.css */
.container {
  width:100%;
  height:100%;
  flex-direction: column;
  background-color: #F1F3F5;
}
text{
  width: 100%;
  height: 100%;
  text-align: center;
}
// xxx.js
export default {
  data: {
    label_1:{
      nextLabel: 'NEXT',
      status: 'normal'
    },
    label_2:{
      prevLabel: 'BACK',
      nextLabel: 'NEXT',
      status: 'normal'
    },
    label_3:{
      prevLabel: 'BACK',
      nextLabel: 'END',
      status: 'disabled'
    },
  },
}

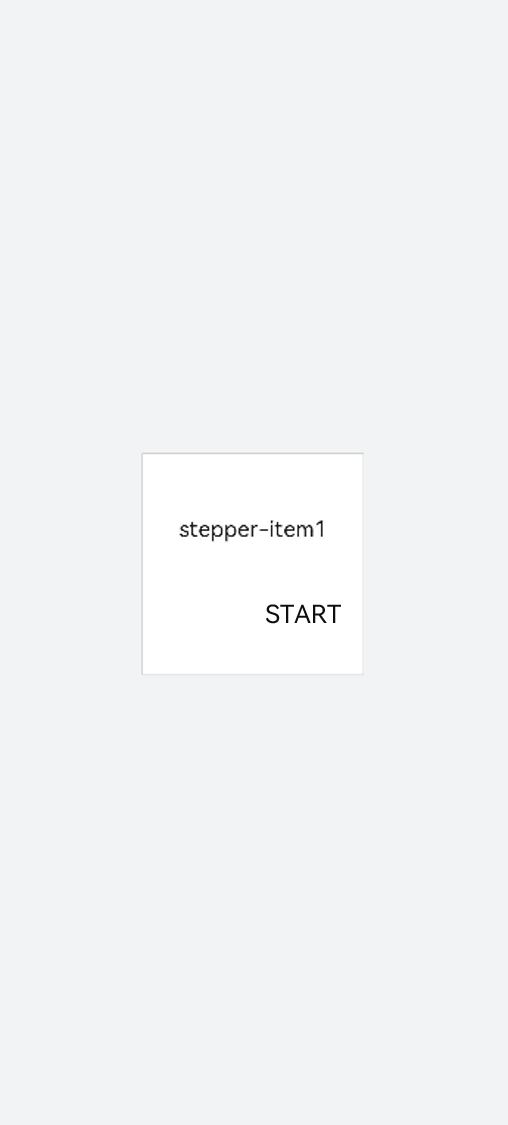
Setting Styles
By default, the <stepper> component fills entire space of its container. The sample code below shows how to set the border and background color using the border and background-color attributes.
<!-- xxx.hml -->
<div class="container" >
  <div class="stepperContent">
    <stepper class="stepperClass">
      <stepper-item>
        <text>stepper-item1</text>
      </stepper-item>
    </stepper>
  </div>
</div>
/* xxx.css */
.container {
  width:100%;
  height:100%;
  flex-direction: column;
  align-items: center;
  justify-content: center;
  background-color:#F1F3F5;
}
.stepperContent{
  width: 300px;
  height: 300px;
}
.stepperClass{
  border:1px solid silver ;
  background-color: white;
}
text{
  width: 100%;
  height: 100%;
  text-align: center;
}
Adding Events
The <stepper> component supports the finish, change, next, back, and skip events.
-
When the change and next or back events exist at the same time, the next or back event is executed before the change event.
-
Before resetting the index attribute, you must remove the current value. Otherwise, the value change cannot be detected.
<!-- xxx.hml -->
<div class="container"  style="background-color:#F1F3F5;">
  <div >
    <stepper onfinish="stepperFinish" onchange="stepperChange" onnext="stepperNext" onback="stepperBack" onskip="stepperSkip" id="stepperId" index="{{index}}">
      <stepper-item>
        <text>stepper-item1</text>
        <button value="skip" onclick="skipClick"></button>
      </stepper-item>
      <stepper-item>
         <text>stepper-item2</text>
         <button value="skip" onclick="skipClick"></button>
      </stepper-item>
      <stepper-item>
        <text>stepper-item3</text>
      </stepper-item>
    </stepper>
  </div>
</div>
/* xxx.css */
.doc-page {
  width:100%;
  height:100%;
  flex-direction: column;
  align-items: center;
  justify-content: center;
}
stepper-item{
  width: 100%;
  flex-direction: column;
  align-self: center;
  justify-content: center;
}
text{
  margin-top: 45%;
  justify-content: center;
  align-self: center;
  margin-bottom: 50px;
}
button{
  width: 80%;
  height: 60px;
  margin-top: 20px;
}
// xxx.js
import promptAction from '@ohos.promptAction';
export default {
  data: {
    index:0,
  },
   stepperSkip(){
    this.index = null;
    this.index=2;
  },
   skipClick(){
    this.$element('stepperId').setNextButtonStatus({status: 'skip', label: 'SKIP'});
  },
  stepperFinish(){
    promptAction.showToast({
      message: 'All Finished'
    })
  },
  stepperChange(e){
    console.log("stepperChange"+e.index)
    promptAction.showToast({
      // index indicates the sequence number of the current step.
      message: 'Previous step: '+e.prevIndex+"-------Current step:"+e.index
    })
  },
  stepperNext(e){
    console.log("stepperNext"+e.index)
    promptAction.showToast({
      // pendingIndex indicates the sequence number of the step to be redirected to.
      message: 'Current step:'+e.index+"-------Next step:"+e.pendingIndex
    })
    var index = {pendingIndex:e.pendingIndex }
    return index;
  },
  stepperBack(e){
    console.log("stepperBack"+e.index)
    var index = {pendingIndex: e.pendingIndex }
    return index;
  }
}
Example Scenario
In this example, you can select the options displayed on the page and see how your selection takes effect in real time. Clicking the next button will dynamically change the font color and font size of the selected option.
Use a <stepper> component to navigate through the steps. Create a <Toggle>(../reference/arkui-js/js-components-basic-toggle.md) component to implement the functions of selecting an option and displaying the selection result. Then use the <Select>(../reference/arkui-js/js-components-basic-select.md) component to dynamically change the font color or size of the selected option.
<!-- xxx.hml -->
<div class="container">
  <stepper id="mystep" index="0" onfinish="back" style="text-color: indigo;">
    <stepper-item label="{{label1}}">
      <div style="flex-direction: column;padding: 0px 10px;">
        <text class="text" style="margin-top: 10%;text-align: center;width: 100%;">Select error types:</text>
        <text style="margin-top: 20px;padding: 10px">
          <span>{{error}}</span>
        </text>
        <div style="justify-content: space-around;flex-wrap: wrap;">
          <toggle for="{{togglelist1}}" value="{{$item}}" class="tog" onchange="multiTog({{$item}})"></toggle>
        </div>
      </div>
    </stepper-item>
    <stepper-item label="{{label2}}">
      <div style="flex-direction: column;align-items: center;">
        <text class="txt" style="margin-top: 10%;">Toggle</text>
        <div style="justify-content: space-around;flex-wrap: wrap;;margin-top:10%">
          <toggle class="tog" for="{{togglelist1}}" value="{{$item}}" style="text-color: {{tcolor}};font-size: {{tsize}}; font-style: {{tstyle}};font-weight: {{tweight}};font-family: {{tfamily}};">
          </toggle>
        </div>
        <div style="flex-wrap: wrap;width: 700px;margin-top:10%">
          <div style="flex-direction: column;width: 350px;height: 185px;align-items: center;">
            <text class="txt">text-color</text>
            <select onchange="settcolor">
              <option for="{{color_list}}" value="{{$item}}">{{$item}}</option>
            </select>
          </div>
          <div style="flex-direction: column;width: 350px;height: 185px;align-items: center;">
            <text class="txt">font-size</text>
            <select onchange="settsize">
              <option for="{{size_list}}" value="{{$item}}">{{$item}}</option>
            </select>
          </div>
        </div>
      </div>
    </stepper-item>
  </stepper>
</div>
/* xxx.css */
.container {
  width:100%;
  height:100%;
  flex-direction: column;
  align-items: center;
  justify-content: center;
  background-color:#F1F3F5;
}
.dvd {
  stroke-width: 8px;
  color: orangered;
  margin: 65px;
}
.tog{
  margin-right: 20px;
  margin-top: 30px;
}
// xxx.js
import promptAction from '@ohos.promptAction';
import router from '@ohos.router';
let myset = new Set();
export default {
  data: {
    error: '',
    tcolor:'#FF4500',
    color_list:['#FF4500','#5F9EA0','#0000FF'],
    tsize: '12px',
    size_list: ['12px', '30px', '8px', '50px'],
    label1: {
      prevLabel: 'The text on the left of the starting step is invalid.',
      nextLabel: 'Toggle'
    },
    label2: {
      prevLabel: 'toggle',
      nextLabel: 'END'
    },
    togglelist1:['Program error', 'Software', 'System', 'Application'],
  },
  multiTog(arg, e) {
    this.error = ' '
    if (e.checked) {
      myset.add(arg)
    } else {
      myset.delete(arg)
    }
    for (let item of myset) {
      this.error += item + ' '
    }
  },
  settcolor(e) {
    this.tcolor = e.newValue
  },
  settsize(e) {
    this.tsize = e.newValue
  }
}